.jpg)
How to boot a PC from a Playstation Vita
August 10, 2024 - Reading time: 6 minutes
Sounds weird, I know. But it's possible and useful as a last resort, when your system can't start its bootloader, due to missing UEFI entry, or to boot an installation medium, and you don't have a USB stick nor another computer.
Requirements
- Hacked PS Vita with 2 available storage devices (either 2 of them: built-in LCD Vita memory, sd2vita or an official memory card), and VitaDeploy installed.
- USB cable to connect your Vita.
- A Wi-Fi network (eg. your home Wi-Fi or hotspot from your phone).
- Device with internet access and a FTP client (a phone also works great here).
- Willingness to format a storage device and lose information on it.
Preparing
Formatting a memory card
- Open VitaDeploy.
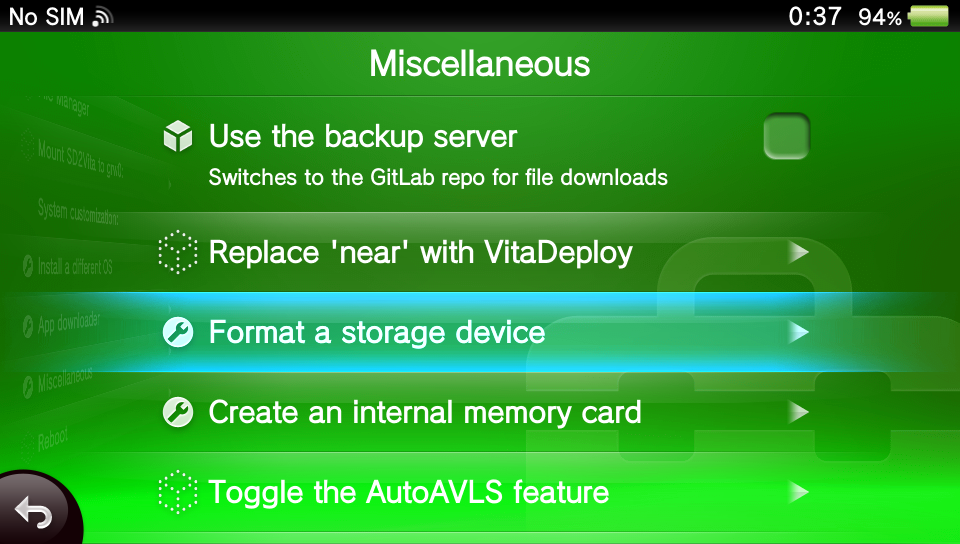
- Scroll down and enter "Miscellaneous". (editor note: i don't know why this pic is stretched lol)
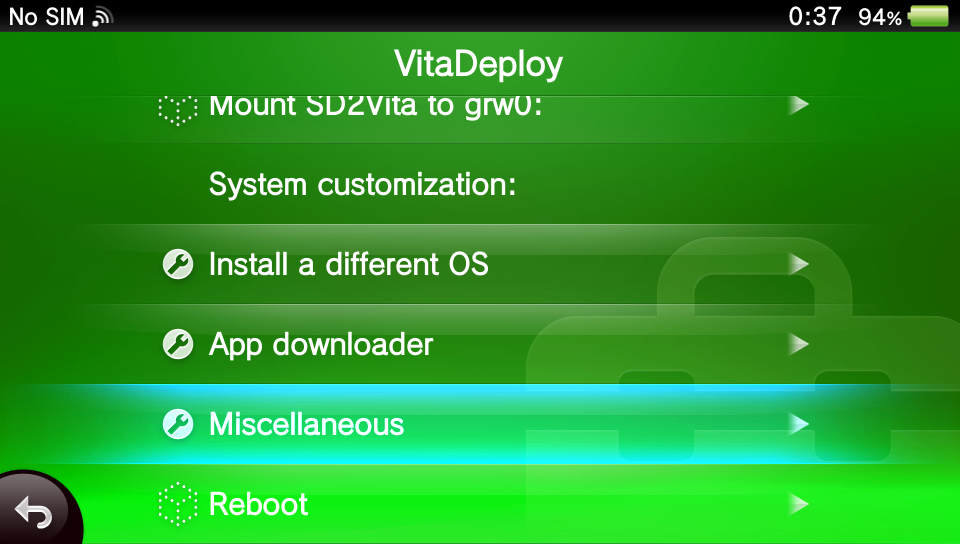
- Select "Format a storage device".
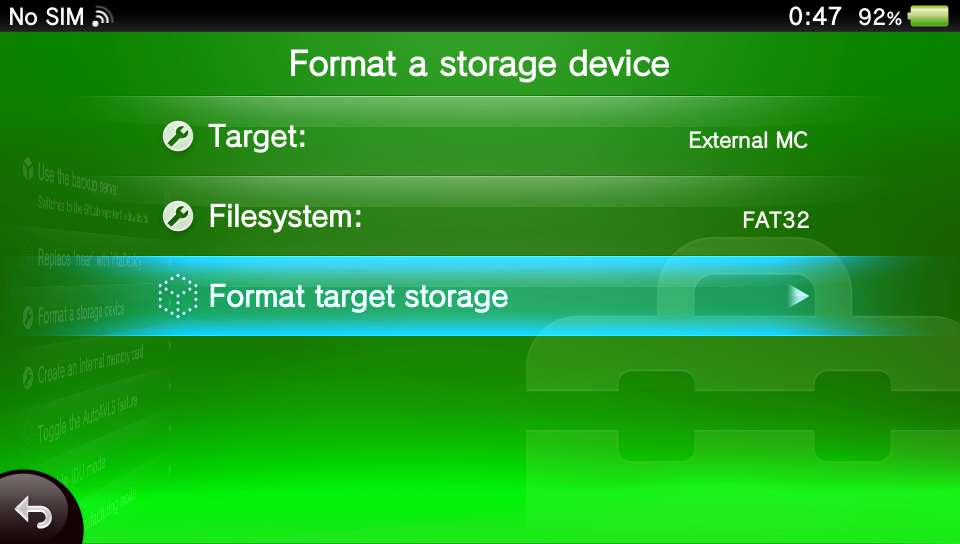
- In "Target: " select device which will serve as mass storage device exposed to UEFI. I selected "External MC" to use my official memory card. "Internal MC" selects internal memory card available on LCD Vita consoles, or one created on OLED consoles, and "SD2Vita" selects sd2vita.
- In "Filesystem: " select "FAT32". Note: PS Vita recognizes only exFAT for memory cards, so it won't be able to read it anymore without formatting.
- Click "Format target storage" and wait for it to finish. Warning: this deletes every piece of information your target device has.
- Wait for it to finish, and reboot your Vita.
Transferring a bootable image
This can be anything that UEFI will boot. Examples include system installation medium to install it or repair, a bootloader, or UEFI Shell. If you decide to use an .iso image, be sure to extract it before continuing.
- Download your image or UEFI executable of choice. I used UEFI Shell, and downloaded "shellx64.efi".
- Connect both PS Vita and your device with FTP client to the same Wi-Fi network, or turn on a Wi-Fi hotspot on device with FTP client, and connect your Vita to it.
- Open VitaDeploy, and select "File Manager".
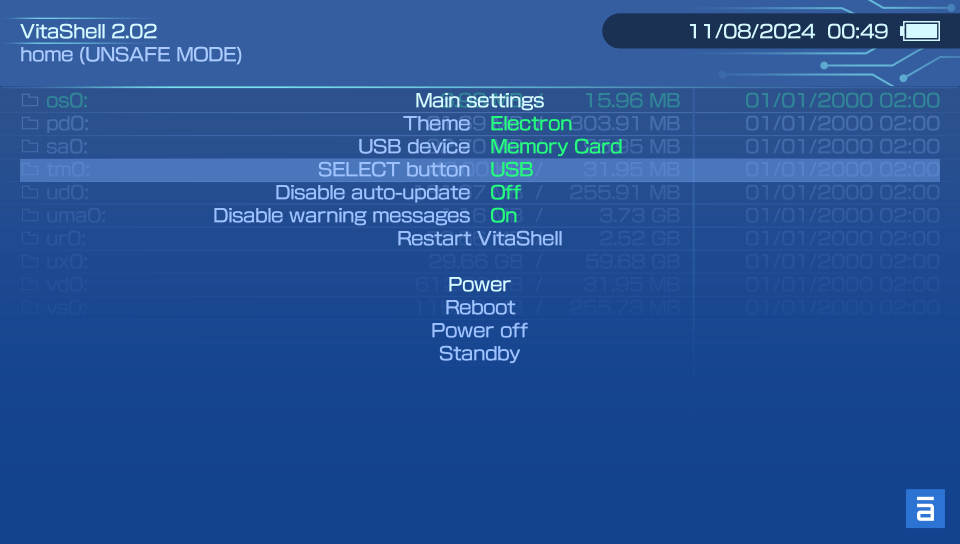
- After it starts, press Start and in "SELECT Button" option, choose "FTP".
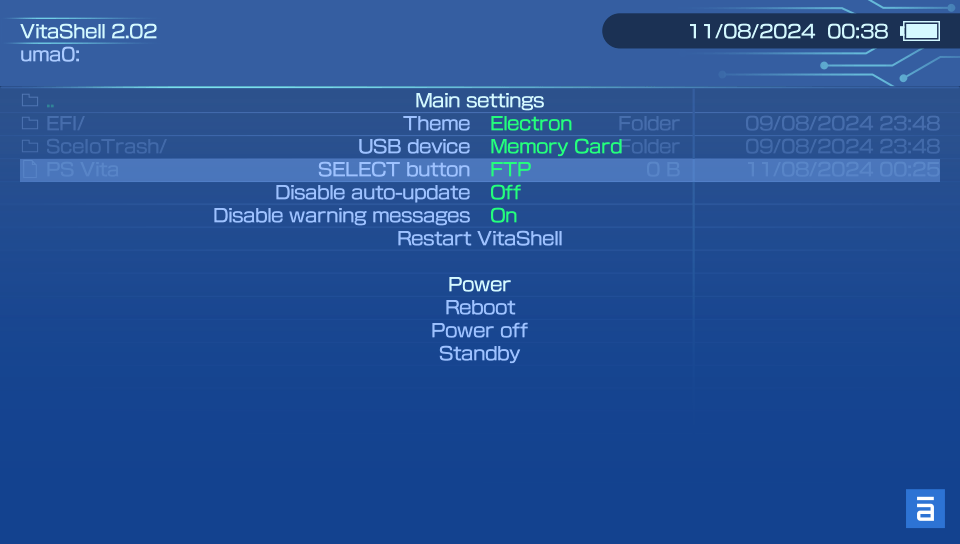
- Press Start again to exit this menu, and press Select. An FTP server will start with Vita IP address and server port (it should be 1337).
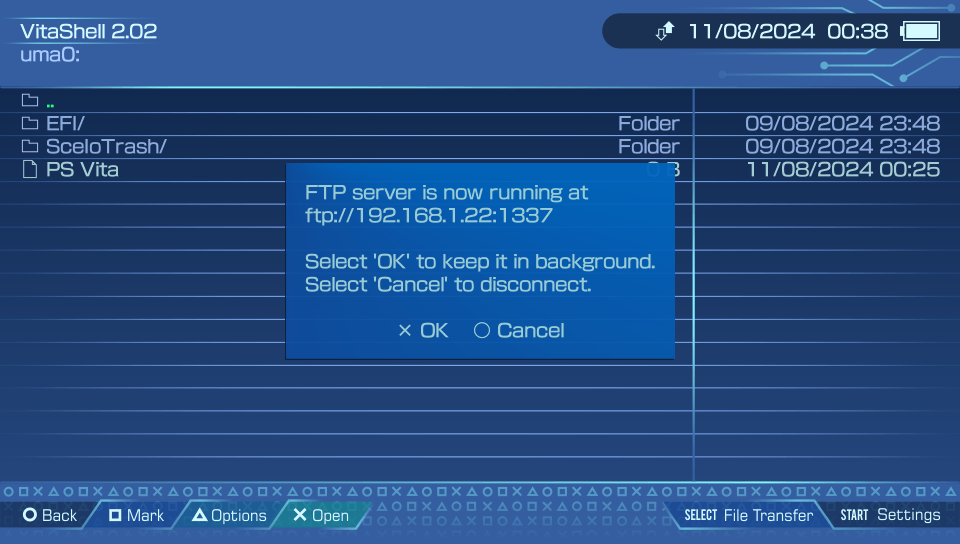
- Open FTP client on your other device, and connect it to Vita. When asked for credentials, don't enter any.
- There should be a list of partitions. Select the one assigned to device you formatted to FAT32, usually it will be ux0 or uma0. Good way to check it is by used size displayed by VitaShell. Empty partition should display 64.00 KB used, and contain only a directory named SceIoTrash. Enter it.

- Copy files extracted from your image to root of that partition, or if using a standalone .efi executable, copy it to /efi/boot/, and name it bootx64.efi. Note: FAT32 doesn't allow for a single file to be bigger than 4 GiB.
- When it finishes, press circle to turn off FTP server.
The process
- Connect a USB cable to your Vita, and to your PC.
- Open VitaDeploy, enter "File Manager".
- Press Start, and this time in "SELECT Button" choose "USB", and in "USB device" choose device which contains your bootable medium, and press Start again to exit.
- Turn on your PC, and the moment it turns on, press Select to turn on USB mass storage device in VitaShell.
- Enter boot menu on your PC, and boot from "SONY "PS Vita" MC" USB device.

- PC should boot from .efi executable on your PS Vita.
That should be it, after booting, make sure to fix your system, so you don't have to boot from PS Vita every time.